

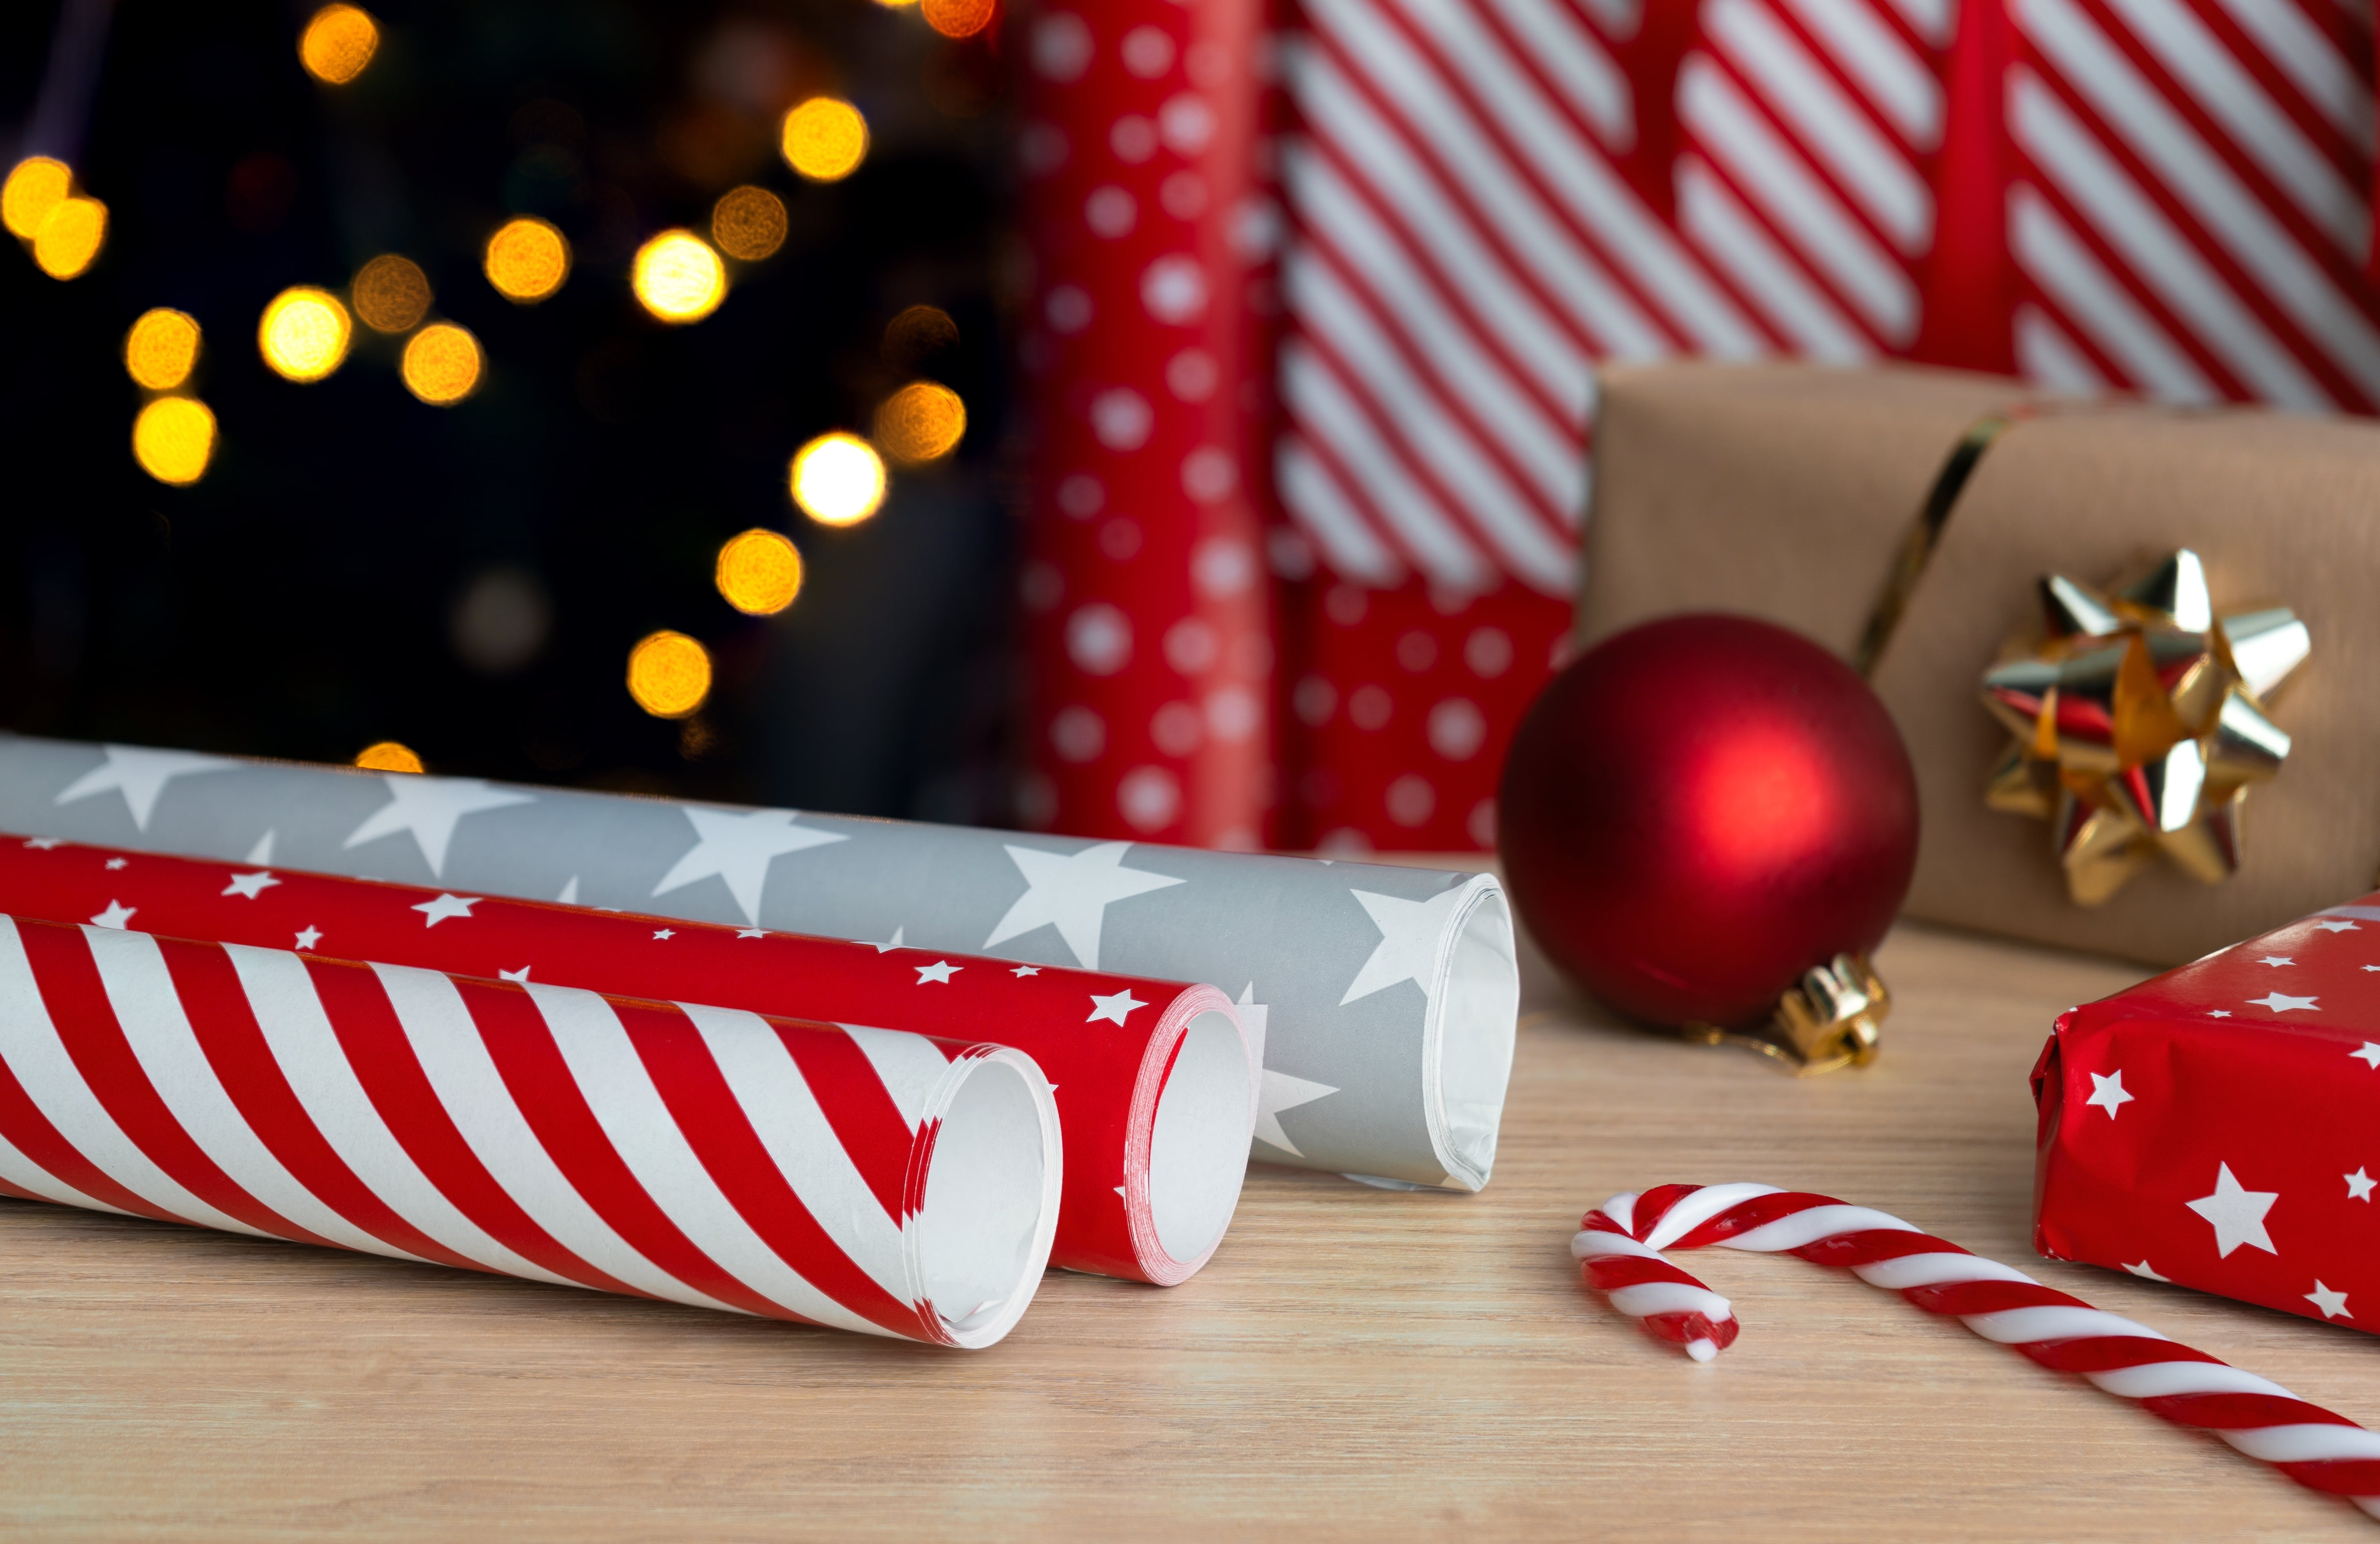
The fun and festivities of December are officially over, and if you’re anything like
us, you probably have rolls and rolls of half-used wrapping paper lying across your
home 🎁
Whether it’s recycling, using less plastic or choosing oat milk in your coffee, we’re
all doing our bit to help the planet. In this blog you’ll find a variety of crafty ways to
reuse your wrapping paper so it continues to spread joy, and not pile up in landfill.
Happy wrapping!
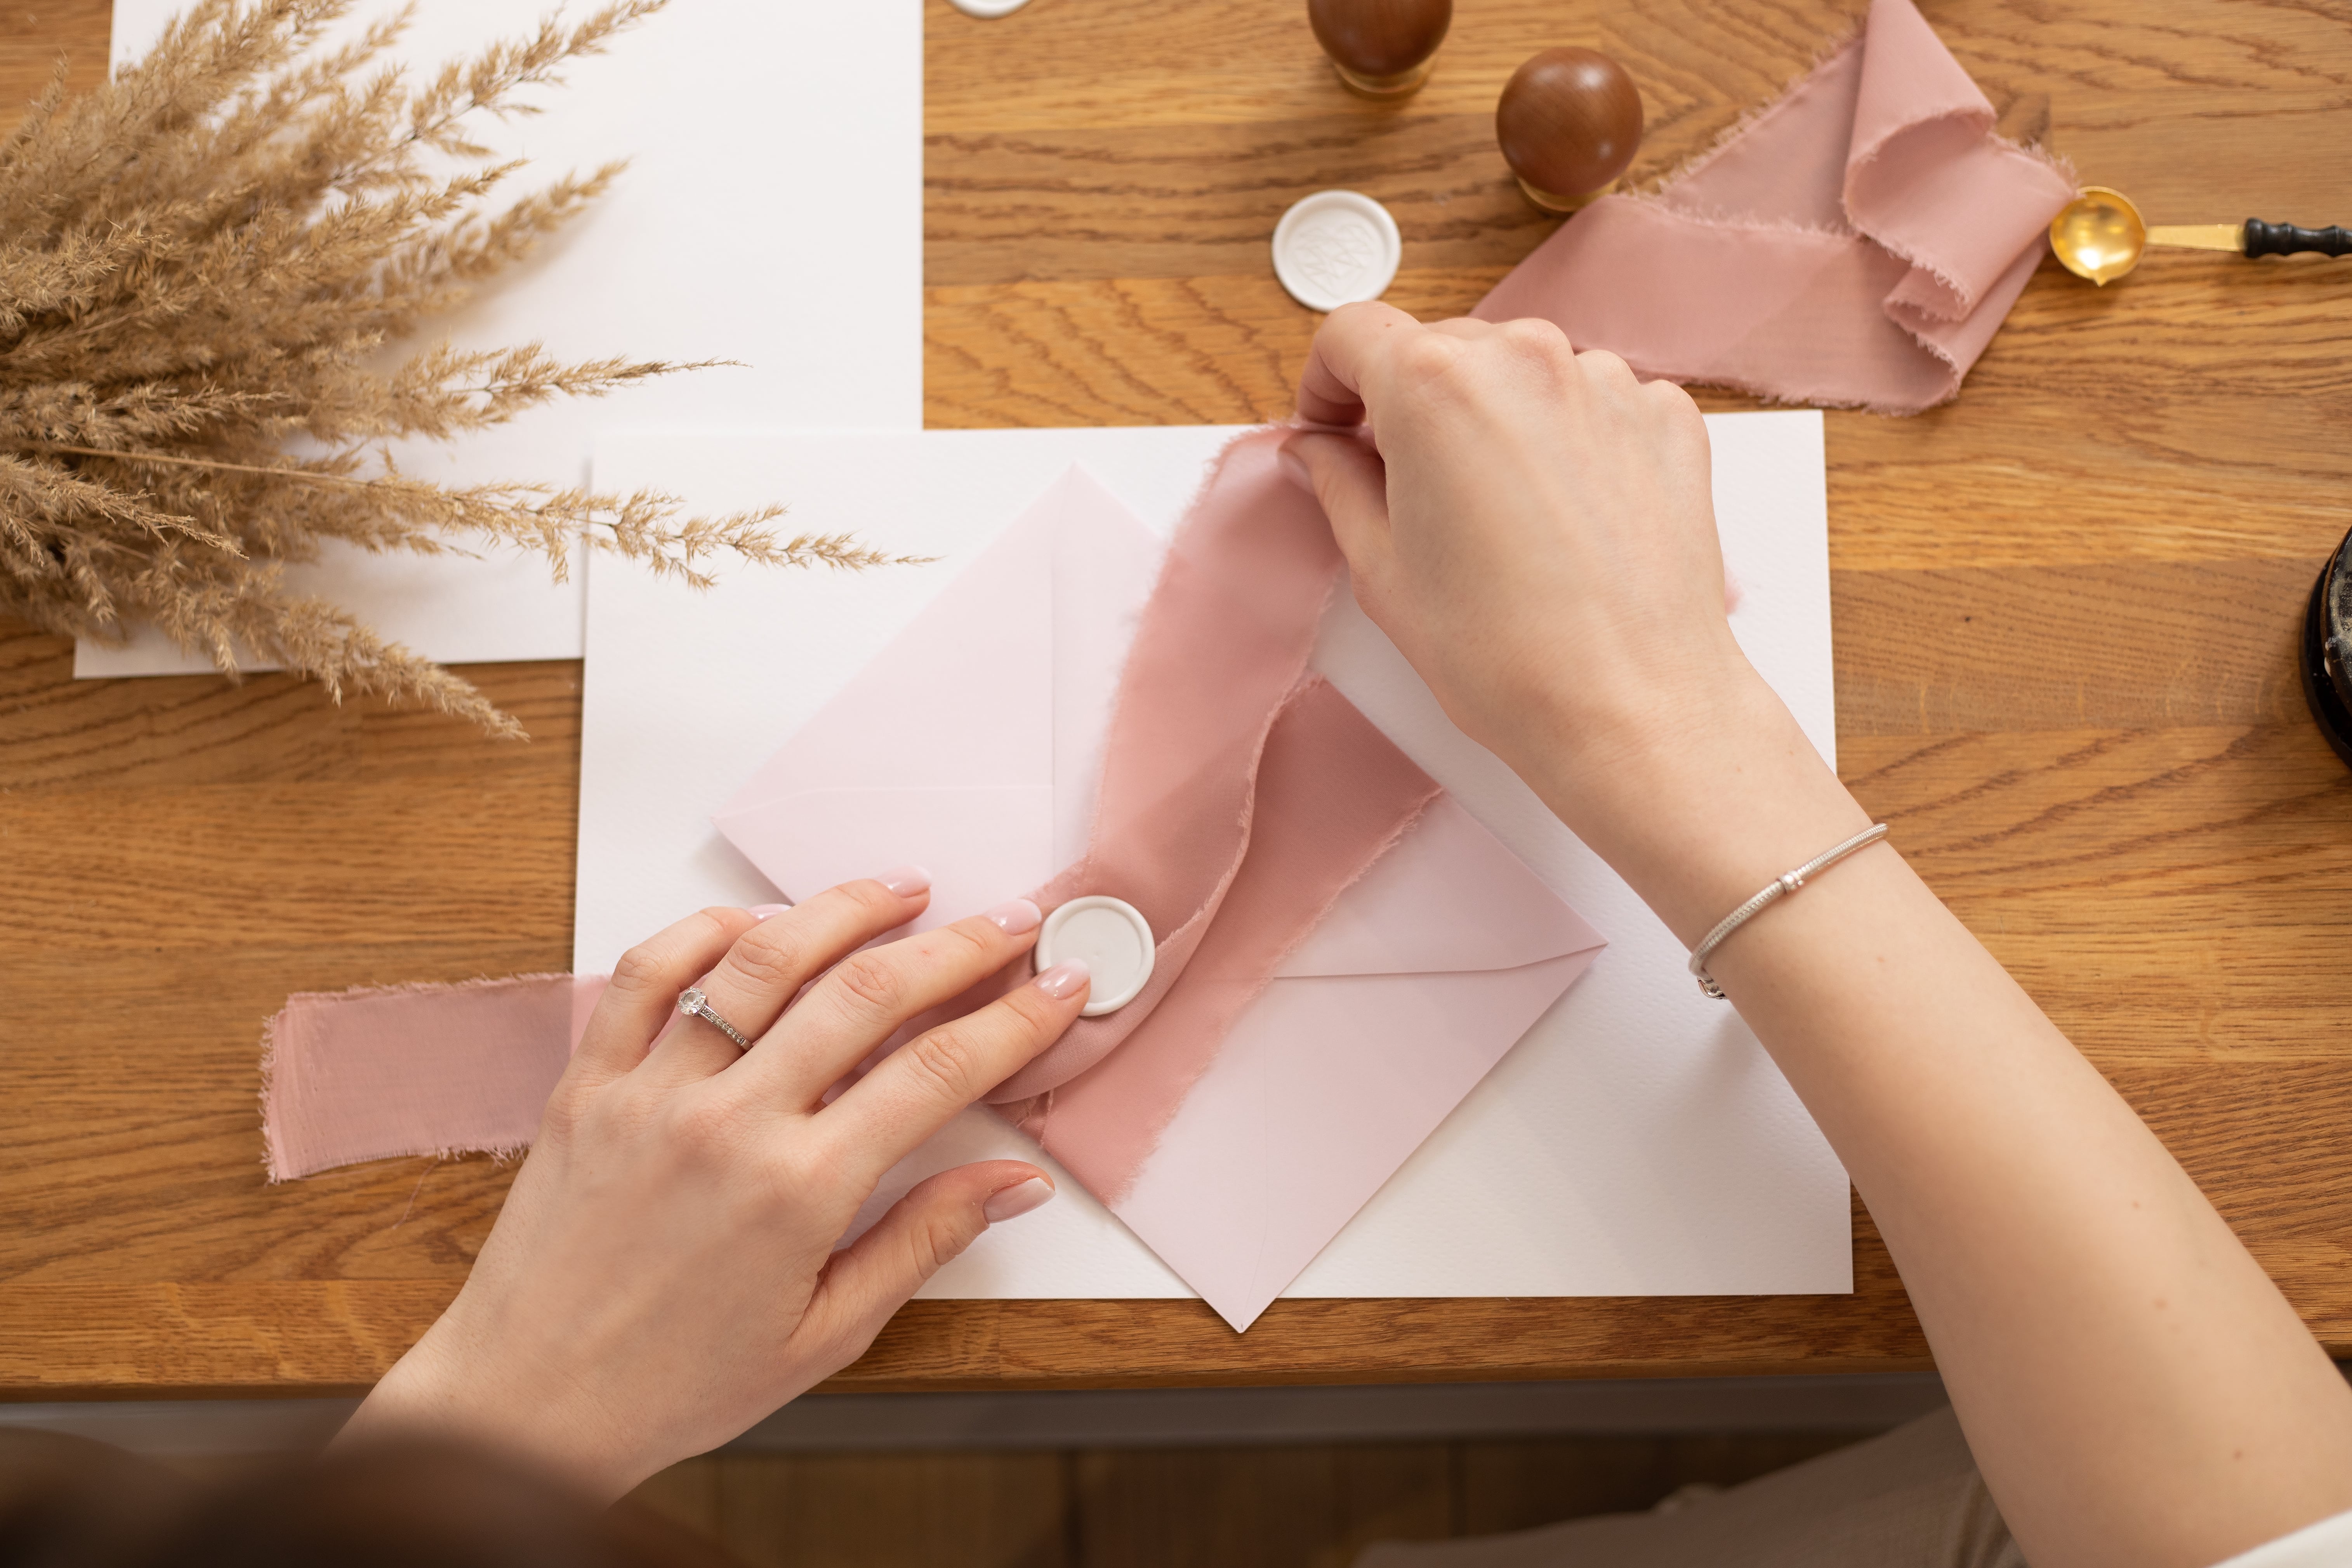
Handmade Envelopes
Just because the season of Christmas cards is complete, doesn’t mean we don’t
all appreciate a handwritten letter from time to time. Send your nearest and
dearest a thank you, thinking of you, or just a ‘hello’ in a homemade envelope
using your leftover Christmas paper 💌
1. Choose an envelope you already have that you like the size and shape of.
2. Soak the existing envelope in a bowl of lukewarm water for one minute, or until
the glue releases from the paper easily.
3. Pat the now unfolded envelope dry – it doesn’t have to be completely dry, just
not drippy – and trace it onto a thin piece of cardboard. Try to be accurate at this
stage and trace neatly.
4. Cut the template out with a pair of scissors.
5. Use your template to trace out an envelope design on a piece of leftover
wrapping paper. Use a pencil on the side that will be the inside so the marks don’t
show.
6. Carefully cut out your envelope with scissors and fold – sides first, then use the
folded sides as a guide on where to fold the top and bottom. Use the handle of
your scissors for really crisp edges.
7. Use a glue stick to stick your envelope together.
8. Pop in your letter and send it to a loved one.
Top tip: make a big batch to keep handy in a drawer for those moments you’re
scrambling around for an envelope ✨
Wrapping Paper Bunting
The Christmas parties might be over, but 2024 will be filled with birthdays,
anniversaries, weddings and festivities alike! Using your leftover wrapping paper
as party bunting is a great way to keep the party going all year round 🎊
1. Using cardboard, cereal boxes work wonders here, trace and cut out large
triangle shapes.
2. Fold your leftover wrapping paper around the cardboard and glue down.
Glue at the back so that the front is nice and neat.
3. At this point, you can cut out letters or decorations to stick onto the
bunting.
4. At the bottom of the triangles, using super glue, carefully glue a long piece
of ribbon with 10-inch gaps in-between the triangles.
5. Hang inside or outside and enjoy the celebrations!
Who needs to waste precious money on decorations when you can get crafty at
home? ✂️☺️

Line Plain Bookshelves and Drawers
Spruce up your home with a bit of colour using leftover wrapping paper to fill in
those dark spaces 🌈
1. Simply measure the area at the back of your bookcases, drawers and
cupboards and cut the correct size with your wrapping paper.
2. Using wallpaper paint or double-sided painters tape, carefully arrange your
wrapping paper in the desired area and flatten down, ensuring there are no
air bubbles.
3. Place your ornaments, books and photo frames in front of the wrapping
paper and enjoy your vibrant new bookcase.
If this doesn’t encourage you to get cosy with a good book, nothing will 📚❤️
Wrapping Paper Photo Frames
Having photos of your loved ones around the home is a constant reminder of
those that mean the most to you. Instead of spending even more money after
Christmas on new frames to house your photos, reuse your wrapping paper to
make DIY photo frames instead 📸
1. Cut out a rectangle onto corrugated card and cut it out, making sure it is
slightly bigger than your photograph.
2. Cut out another rectangle with a smaller rectangle cut out in the centre.
3. Cut out one final piece of card, this will be the piece that holds up the
frame.
4. Concisely wrap all pieces of card in your leftover wrapping paper.
5. Trim your photo so that it fits in the middle of your card base with roughly
½in (1cm) around the edge. Glue into place.
6. Glue the other piece of card onto the other, avoiding glueing the photo.
7. Finally, glue the back of the frame on and leave to set.
This is the perfect activity to do with your children or grandchildren and keeps the
magic of Christmas alive throughout the year ✨📷

Share your crafty creations and tag us on Facebook, Instagram and X – Happy New
Year! ☺️�